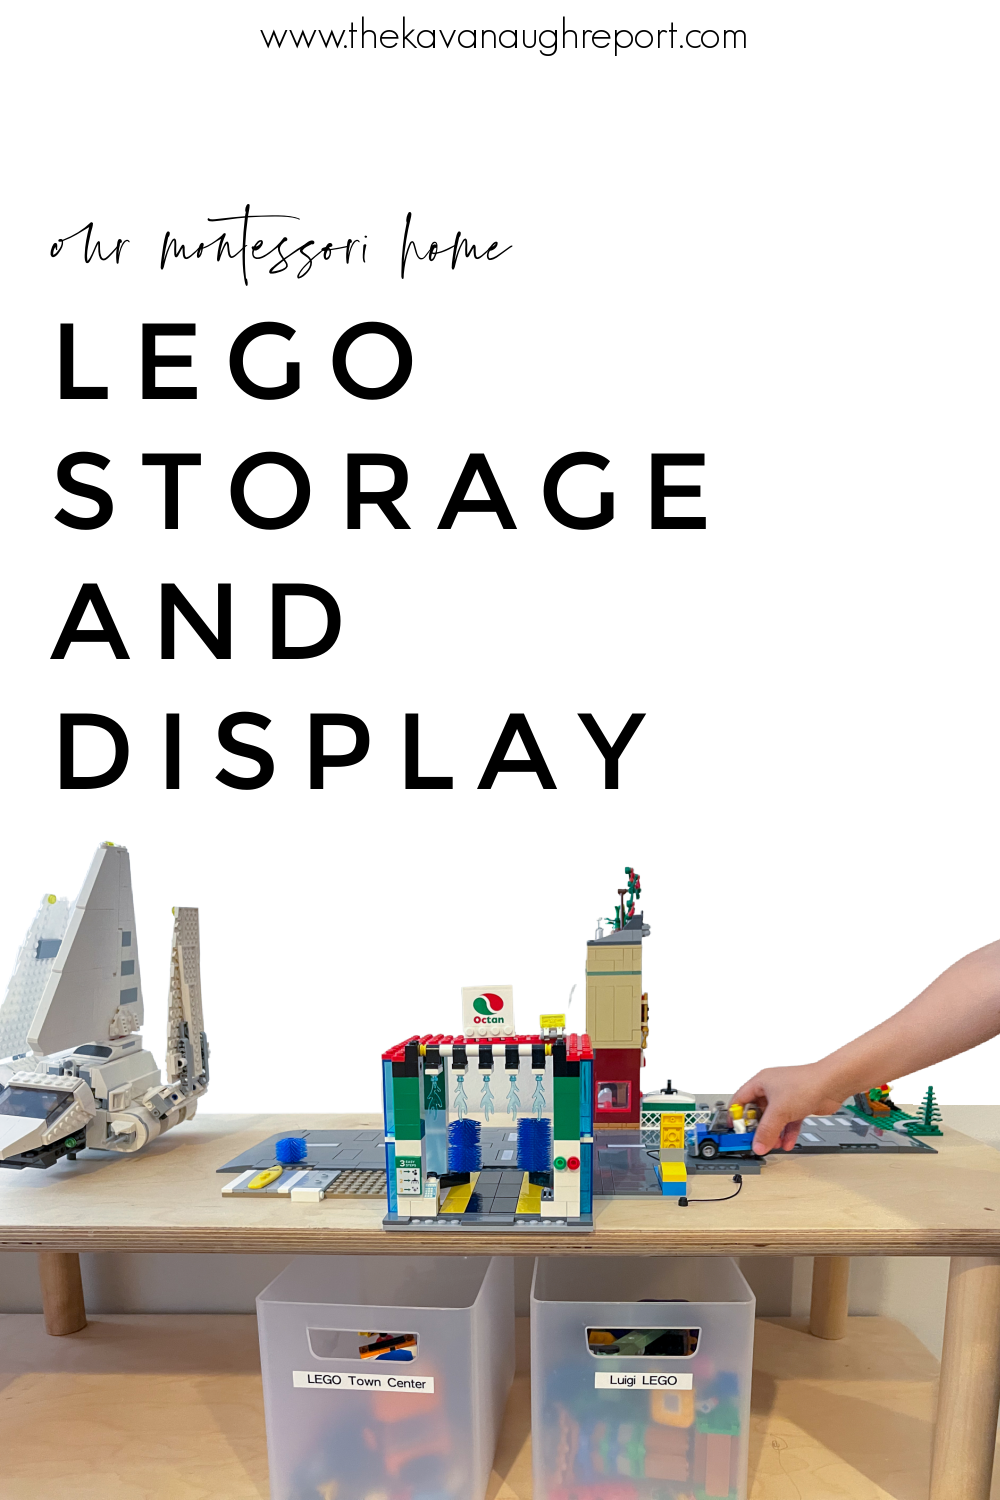
Lego has been having a moment in our house for the last several years. It's one of Henry's favorite things and one of the few toys left that he really uses at his age. Gus is also super into lego too, so I have a feeling these magical little toys aren't going anywhere anytime soon. I find it fascinating watching children play with lego. Some are builders, some are designers, some are really in it for the play. For us, the minifigures that come with the sets are more highly prized that anything.
The unfortunate part about lego is that we really (and I mean we really) have struggled to find ways to organize it in a way that practically works for play. As a Montessori parent, I aim for something that is accessible for the kids to use and put away independently. We want things accessible but not overwhelming. It's been a tough balance to strike. Here's what we do right now:
- Creations and put together sets are stored on shelving (similar to displaying any work in our Montessori spaces)
- Themed accessories and pieces that are currently popular are stored in small bins and labeled based on theme. So for example, all the Mario set accessories are in one of the small bins (similar) and all the Harry Potter are in another.
- Random pieces, crushed sets, things that aren't currently of interest go in a large bin all together. This is a complete mishmash of sets and loose pieces that we've collected over the years.
The problem is this system doesn't really help with minifigure play. Often the minifigures end up in a bin, that ends up getting dumped so it can be found. Or it's missing that one minifigure accessory that everyone ends up frantically searching for. The problem is once things are dumped, it becomes really hard for my kids to be able to put it away independently. So, we've been searching for the perfect solution, and I think we've finally found it.
LEGO Minifigure Display and Storage DIY
I cannot take credit for this idea, it's totally something I saw on Pinterest and decided to give it a try. Basically, I used an IKEA picture frame to create a minifigure display board. To do this project:
- Spray painted the backing of the frame. We chose yellow since that's what Henry loves and it was going in his room.
- Grabbed 50 2x2 bricks from our large storage bin and a few 1x2 bricks. There is definitely room to add a few more if we needed it, but 50 seemed like a good starting point.
- Super glued the bricks to the front of the plexiglass in a random pattern. I choose to mostly keep them on the yellow so that it still had the matted look.
- Collect and make your favorite minifigures and place them on! Most fit on the 2x2, but a few special ones (hello, tiny lego baby) are smaller and have the 1x2 spots.
And, that's it. We have been able to hang the frame low on the wall so that it becomes a decoration in Henry's bedroom, but also really easy and accessible way to store and play with his favorites. I love that as his favorites change, so can the pieces he chooses to display. As Gus gets a few more minifigures himself, I'll be able to make him a similar frame for his collection.
I don't want anyone to think this is the one best way to store or display lego in a Montessori home. I've seen so many people choose other ways. Some organize by color, other's organize by type of brick, other's completely by set. I think it's best to choose what actually works for the children you have using the material. Trying to find a way that they can easily play but also restore the work when they are done.
How do you display and store lego in your home?


